
TLDR
JPEG and JPG are the same file format. The only difference is the name. Most of the time, converting JPEG to JPG just means renaming the file extension, not actually changing the image. This guide shows you how to do that on both iPhone and Mac, and explains why some websites still reject a JPEG file even though nothing about the image itself is different.
What is the difference between JPEG and JPG?

Before anything else, you should know this. JPEG and JPG are not two different formats. They are the exact same format, with two different file extensions.
Back when Windows only supported three letter file extensions, JPEG got shortened to JPG. Mac never had that limit, so Apple often uses the full four letter version. That is really the whole story.
So when someone asks how to convert JPEG to JPG, what they usually need is not a real conversion. They need the file extension changed from .jpeg to .jpg. The image data inside stays exactly the same.
This matters because it changes how you should approach the problem. You do not need special software. You just need to rename the file correctly.
Why this keeps confusing people
A lot of Apple users run into this without ever changing a setting themselves. Since macOS Monterey, tools like Preview and the Create Image action started exporting photos as .jpeg by default, where older versions used .jpg. Nothing about your photos changed. Apple just switched which extension it writes by default.
The problem shows up when you try to upload that .jpeg file to a website that only accepts .jpg. The website is not checking the actual image format. It is just checking the last few letters in the file name. If those letters do not match what it expects, it blocks the upload, even though the file would work perfectly fine.
This is exactly the situation people run into in Apple’s own support community and on forums like Reddit. The fix is small, but it is not always obvious where to find it.
How to convert JPEG to JPG on iPhone
Converting JPEG to JPG on iPhone means renaming the file extension inside the Files app. Here is how.
- Open the Files app on your iPhone.
- Find the photo or file you want to change.
- Tap the three dot menu, usually shown as a circle with dots inside it.
- Tap View Options or the settings icon, then turn on Show All Extensions. By default, iOS hides file extensions, so you need to turn this on first.
- Once extensions are visible, press and hold on the file.
- Tap Rename.
- Change the ending from .jpeg to .jpg, then confirm.
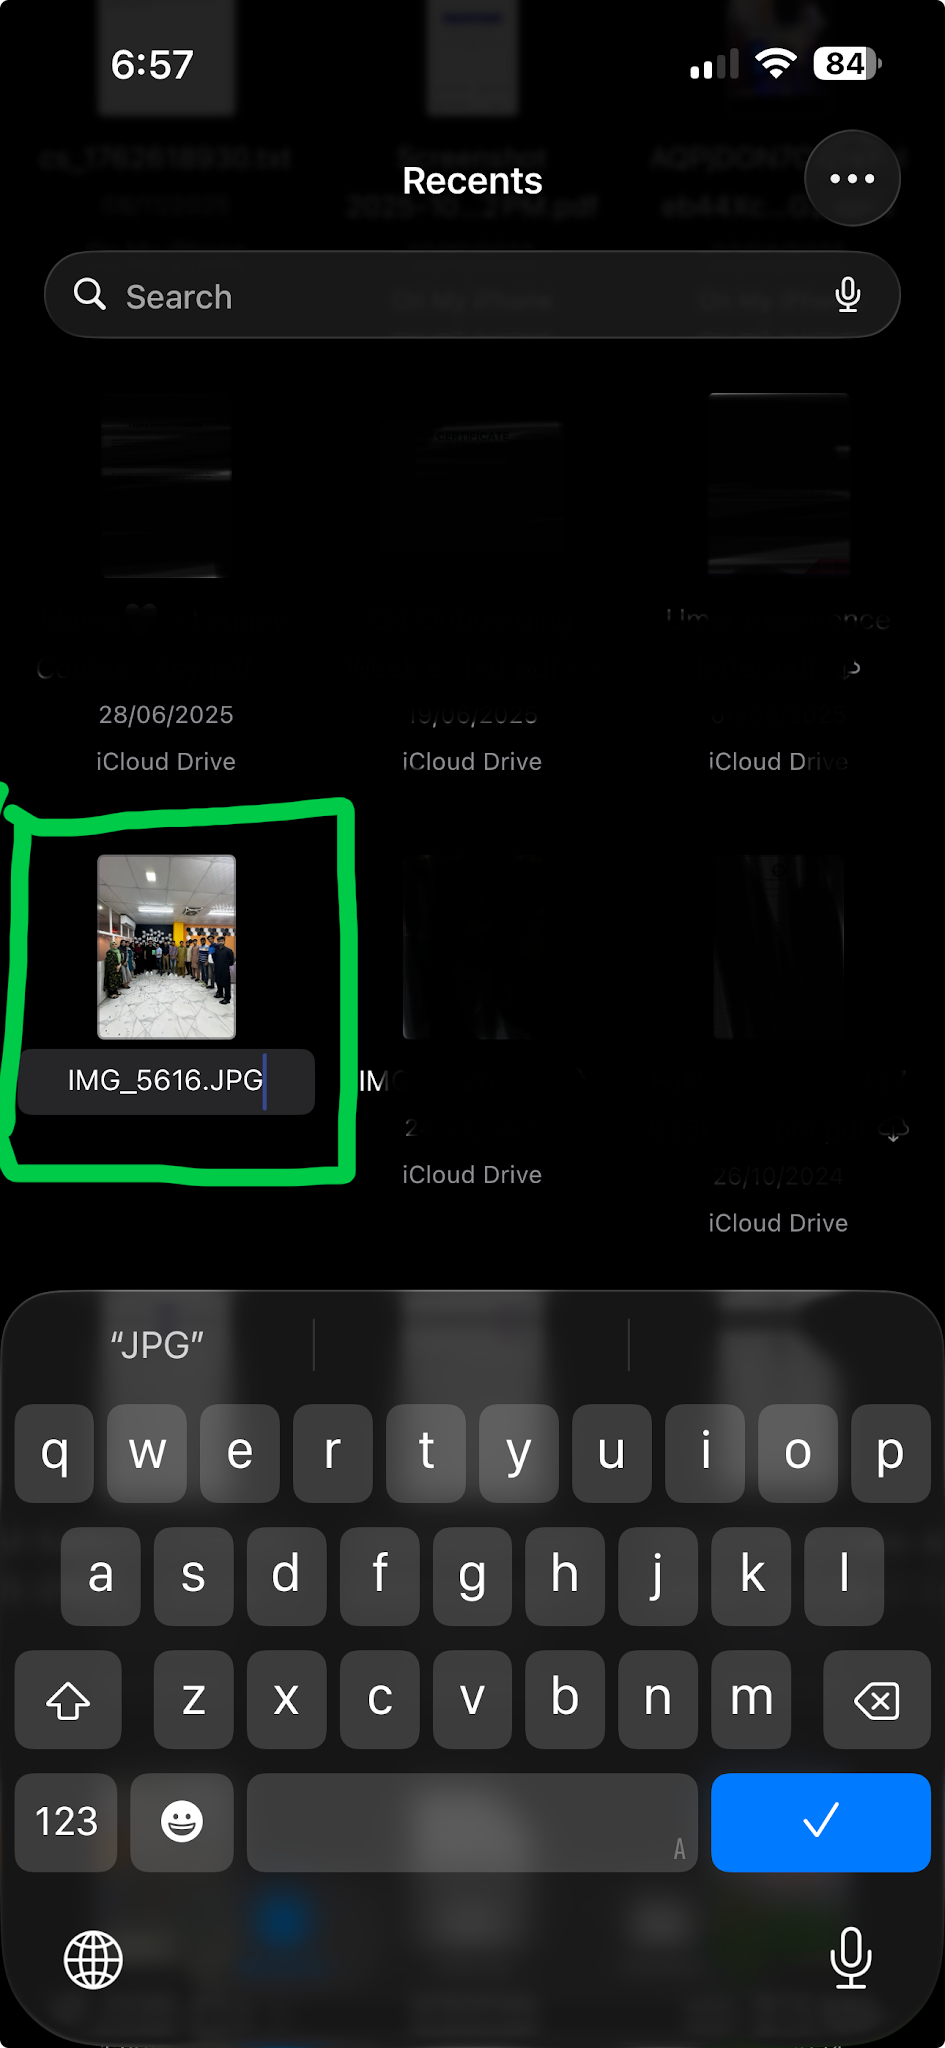
That is the full process for jpeg to jpg on iPhone. No app download needed, no image quality lost, since you are only changing the name, not the picture.
If you send or share a photo directly from the Photos app instead of Files, iOS sometimes keeps the original extension depending on how the image was captured or edited. When that happens, going through Files and renaming manually is the most reliable option.
How to convert JPEG to JPG on Mac
Converting JPEG to JPG on Mac works the same way, just through Finder instead of the Files app.
- Locate the file in Finder.
- Right click the file and choose Get Info, or select the file and press Command plus I.
- In the Name and Extension section, you will see the current file name ending in .jpeg.
- Make sure Hide Extension is unchecked.
- Click into the name field and change .jpeg to .jpg.
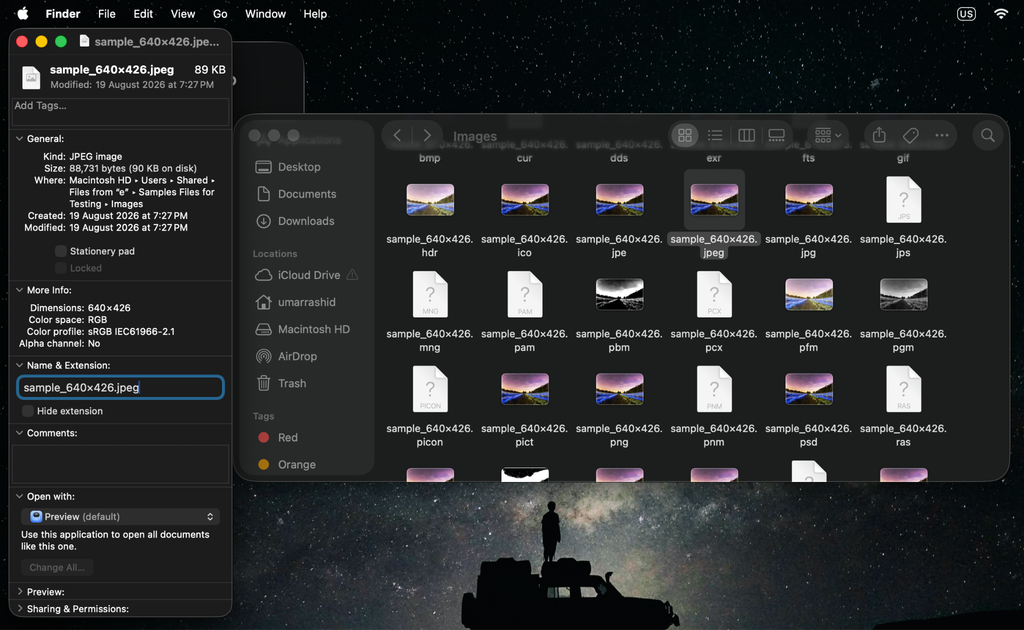
- Press Return, then confirm the change when macOS asks if you are sure.
You can also handle this while exporting from Preview. When you open an image and choose Export, check the format dropdown. Depending on your macOS version, you may see JPEG listed as the format name even though you can still control the file extension separately in the same export window.
Either method gets you a working .jpg file without touching the actual image quality.
When renaming is not enough
Renaming works because JPEG and JPG are identical formats. But there are situations where people think they need to convert JPEG to JPG when the real issue is something else entirely.
If your photo is actually in HEIC format, which is the default format on newer iPhones, renaming it to .jpg will not work. The file extension will say JPG, but the data inside is still HEIC, and most programs will fail to open it correctly. In that case, you need an actual conversion, not a rename. Your iPhone can do this automatically if you change your camera format settings to Most Compatible under Settings, then Camera, then Formats. This makes new photos save as JPEG going forward.
If you are unsure which situation you are in, open the file’s info panel and check the format listed there, not just the extension. If it says HEIC or something other than JPEG, a real converter is what you need, not a rename.
Why some websites are strict about this
It is worth understanding why this happens in the first place, since it is not really an Apple problem.
Many upload systems check file types by reading the extension text, rather than checking the actual file contents. It is a simple, fast way to filter uploads, but it is also a bit outdated, since .jpg and .jpeg have always been valid for the same format. Some sites have not updated their allowed extensions list to include both.
Knowing this helps take the mystery out of the error message. It is not that your photo is somehow wrong. It is that the upload form is only looking at four letters at the end of the file name.
A quick way to check your work
After renaming a file, you can confirm it worked by checking the file’s properties again.
On iPhone, tap the file in Files and look at the details shown below the file name. On Mac, use Get Info again, or press Command plus I, and check the Name and Extension field.
If it now reads .jpg and the file still opens and displays correctly, the conversion is done.
Using an Online JPEG to JPG Converter
Renaming works fine for one or two photos. But if you have dozens of images to fix, doing it one by one gets old fast. In that case, a free tool like the JPEG to JPG converter can save you real time.
It works the same way on any device, whether you are on iPhone, Mac, or something else, since it runs right in your browser.
- Upload your JPEG file, or drag and drop it into the upload area.
- Click Convert, and the tool processes the file in a few seconds.
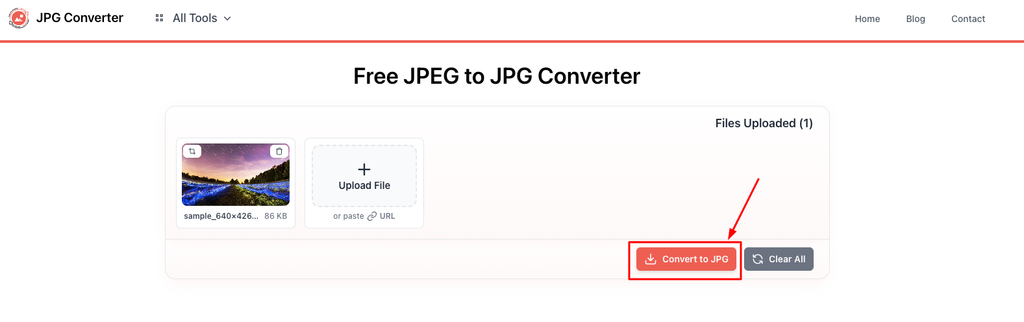
- Download the finished JPG file to your device.
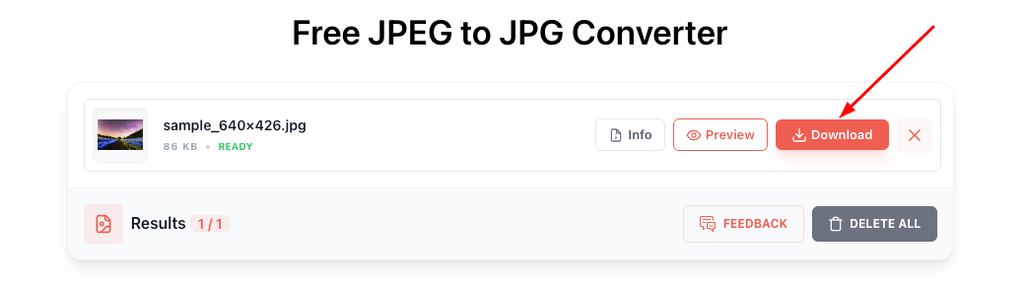
The bigger advantage shows up with batch conversion. Instead of renaming files one at a time, you can select a whole folder of JPEGs at once and convert them all in a single pass. There is no signup, no watermark, and no limit on how many files you convert, which makes it a practical option for anyone dealing with a large batch of photos rather than just one or two.
Final thoughts
Converting JPEG to JPG on Apple devices is really just a renaming task, not a technical conversion, since both extensions point to the same image format. The steps are slightly different between iPhone and Mac, but neither one takes more than a minute once you know where to look. The one thing worth double checking is whether your file is genuinely JPEG under a different name, or whether it is something like HEIC that needs an actual format change instead of a simple rename.