
Key Highlights
- Mould testing helps you check indoor air quality when stains, damp smells, or health risks start to appear.
- A mould assessment is often the first step after leaks, flooding, or long periods of condensation.
- Professional help can include air sampling, surface sampling, and thermal imaging for hidden moisture.
- Results show the type of mould, likely moisture source, and whether a health hazard may exist.
- Testing also guides the right next step, including removal and prevention.
Introduction
A musty room, strange stains, or repeated sneezing can make you wonder if mould growth is affecting your space. That is where mould testing becomes useful. It helps you understand what is in your indoor air quality, where moisture may be hiding, and whether your health concerns could be linked to mould exposure in the home, office, or workplace.
Understanding Mould Growth and Why Testing Matters
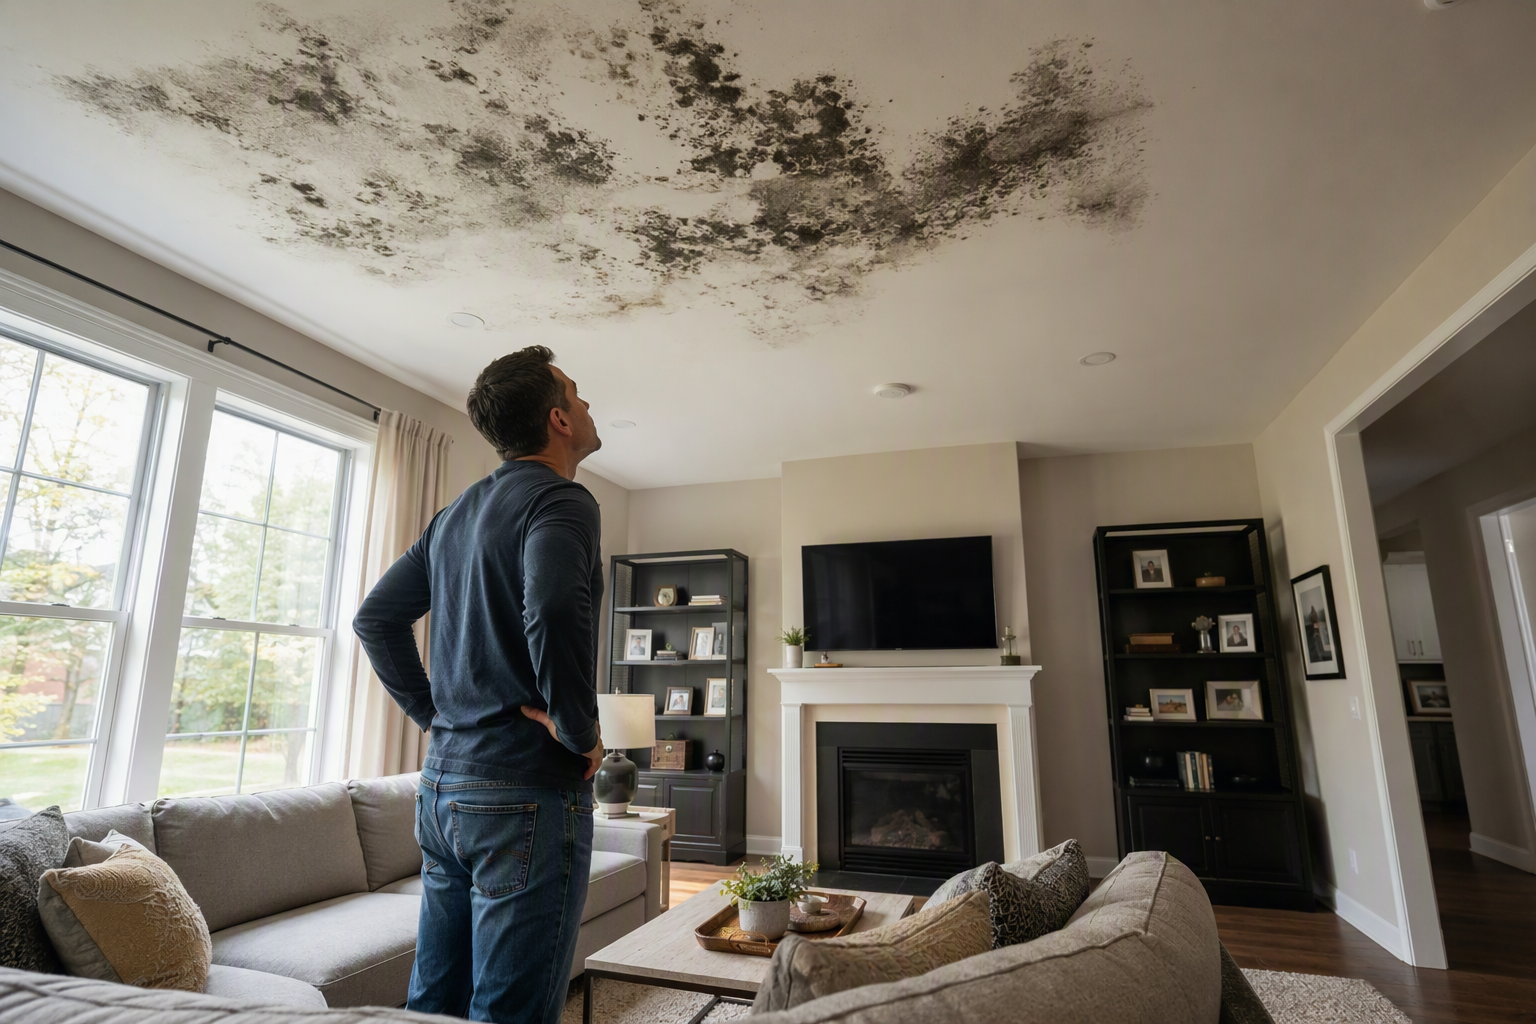
Mould growth often starts after water damage, flooding, leaks, or long periods of condensation. You may notice a musty smell before you see anything on walls, ceilings, or other building materials.
Mould testing matters because mould spores can move through indoor air and affect people differently. If you have ongoing headaches, allergies, breathing issues, or a damp smell that will not go away, testing can help confirm whether mould is creating health risks.
Different Methods of Mould Testing Explained
Not all mould testing works the same way. In many cases, air sampling is used when mould spores may be present, but the affected area is not easy to see, such as after a leak inside wall cavities.
Surface sampling is used when stains or visible growth appear on building materials, hard surfaces, ceiling tiles, or other suspect spots. These methods help show whether contamination is active, where it sits, and what kind of follow-up is needed.
Professional mould inspection: What’s involved step by step
A professional mould inspection starts with a site review. The technician looks at why mould is suspected, such as roof leaks, flooding, persistent dampness, or staff reporting health issues linked to poor indoor air.
From there, mould sampling and air quality testing are chosen to match the problem. If hidden moisture is suspected, thermal imaging may also be used behind walls, flooring, or insulation.
- Review of the initial report and likely moisture issues
- Visual check of the affected area and surrounding spaces
- Air and surface sample collection where needed
- Lab analysis followed by a detailed report with recommendations
Comparing DIY mould test kits to professional services
Many people ask if DIY mould testing is enough. The main issue is that suspected mould contamination requires professional analysis, because the presence of mould does not always mean a true health hazard.
A kit for home use may not explain spore levels, species, or moisture causes. Professional help gives context, including air sampling, surface checks, and a report you can act on.
| Option | What it usually tells you |
| DIY | A basic sign that mould spores may be present |
| Professional services | Type, level of exposure, likely cause, and next steps |
How the Mould Testing Process Works
The first step in mould testing is a professional site inspection. This helps identify moisture problems, visible damage, stale air, and any building materials that may be holding contamination.
After that, the technician chooses the right sampling method. Air sampling can check airborne exposure, while surface testing targets suspect materials. That process is especially helpful when health issues are present, but mould is not easy to spot.
On-site assessment: What technicians actually look for
During an on-site assessment, technicians do more than look for visible mould. They trace the conditions that allow growth, including damp areas, poor ventilation, and signs of past or current water entry.
For example, a room may look clean but still have a musty smell near skirting boards after an air conditioner leak. That points to hidden moisture issues in the affected area.
- Visible mould, discolouration, or staining
- Musty smell or stale indoor air
- Roof leaks, flooding, or condensation history
- Damp materials around walls, floors, or ceiling spaces
Sampling techniques used during professional mould testing
Sampling methods depend on what the technician finds. If mould growth is suspected behind finishes or in wall cavities, air sampling can help measure airborne spores and compare exposure levels.
Where marks or colonies appear, surface sampling is often used. Lab review then helps interpret spore counts and species, rather than relying on guesswork.
- Air sampling for hidden or airborne contamination
- Surface sampling from visible suspect spots
- Swab collection on hard surfaces or stained areas
- Lab analysis to identify spore counts and type of mould
Decoding Mould Test Results
Mould test reports should do more than say yes or no. A detailed report explains the type of mould found, the level of exposure, and possible moisture sources behind the problem.
That matters because health concerns vary. Not every result points to the same health hazard, and personal sensitivity also affects how people react. The next two sections make those findings easier to understand.
What mould test reports mean for your health and safety
Here is the short answer: mould test results help show whether your space may be contributing to health risks, but results must be read alongside symptoms, moisture conditions, and exposure levels.
Some people react to low levels of mould spores, while others do not. Common signs include a runny nose, itchy eyes, headaches, allergic reactions, coughs, sneezing, and worsened asthma.
That is why a report should link findings to the space itself. If workers or residents have health problems in one damp room and sampling supports that pattern, you have a clearer reason to fix the source quickly.
Understanding the risks of black mould and common species
People often worry most about black mould. In simple terms, testing matters because the type of mould, the concentration, and the sensitivity of exposed people all affect whether mould exposure may create health risks.
One species often mentioned is Stachybotrys chartarum. Still, colour alone does not confirm danger, and not all fungi represent the same level of concern.
- Black mould is a common label, not a full diagnosis
- Species identification helps clarify the type of mould
- Exposure level matters as much as appearance
- Professional analysis is needed before judging risk
Costs and Considerations for Mould Testing in Australia
The compiled guidance does not list fixed mould testing cost figures in Australia, so the practical answer is that pricing depends on the mould inspection scope. A small affected area with one sample is different from a workplace review involving hidden moisture, several rooms, and lab analysis.
What you are paying for is not just sampling. Professional help usually covers inspection time, testing method, analysis, and a report that shows whether a health hazard may exist.
| Cost factor | Why it changes the quote |
| Size of area | More rooms often mean more inspection time |
| Sampling type | Air and surface tests add lab work |
| Hidden moisture checks | Thermal imaging can expand the scope |
| Reporting needs | Detailed reports take more analysis |
Next Steps If Mould Is Found After Testing
If mould is confirmed, the next step is to deal with the cause before focusing only on removal. Cleaning visible marks without fixing damp areas, leaks, or condensation often means the problem returns.
A good report should set out practical actions for mould remediation and prevention. In workplaces and homes, that may include both repair work and professional mould remediation where contamination is widespread.
- Fix the moisture source, such as leaks or condensation
- Remove affected materials if needed
- Clean and dry damp areas fully
- Follow the report recommendations to prevent return
Conclusion
In conclusion, mould testing is a crucial step in ensuring a safe and healthy living environment. By understanding how mould grows, the various testing methods available, and the significance of test results, you empower yourself to take informed action. Whether you opt for professional services or consider DIY kits, knowing the risks associated with mould—especially harmful varieties like black mould—can significantly impact your health. If you find mould during testing, it’s essential to follow up with appropriate remediation steps to protect your space. For further assistance and to ensure you’re taking the right steps, don’t hesitate to get in touch for a free consultation. Your health and safety are paramount, so take that next step today!
Frequently Asked Questions
Are home mould test kits reliable in Australia?
DIY mould testing for home use can give a basic sign that mould spores may be present, but it does not replace professional analysis. If air quality has changed or symptoms keep returning, professional testing gives a clearer answer.
Can mould testing be done in offices and commercial buildings?
Yes. Mould testing can be carried out in offices and commercial buildings, especially when indoor air complaints, damp smells, or health concerns are reported. HSE Australia provides workplace mould assessment and air quality testing for these situations.
What should I do if my mould test results come back positive?
Start with the moisture source. Then review the report, assess health risks, and arrange professional help if removal is needed. If your property review also involves asbestos testing, asbestos inspection, or asbestos testing Adelaide enquiries, keep those checks separately managed through HSE Australia.