
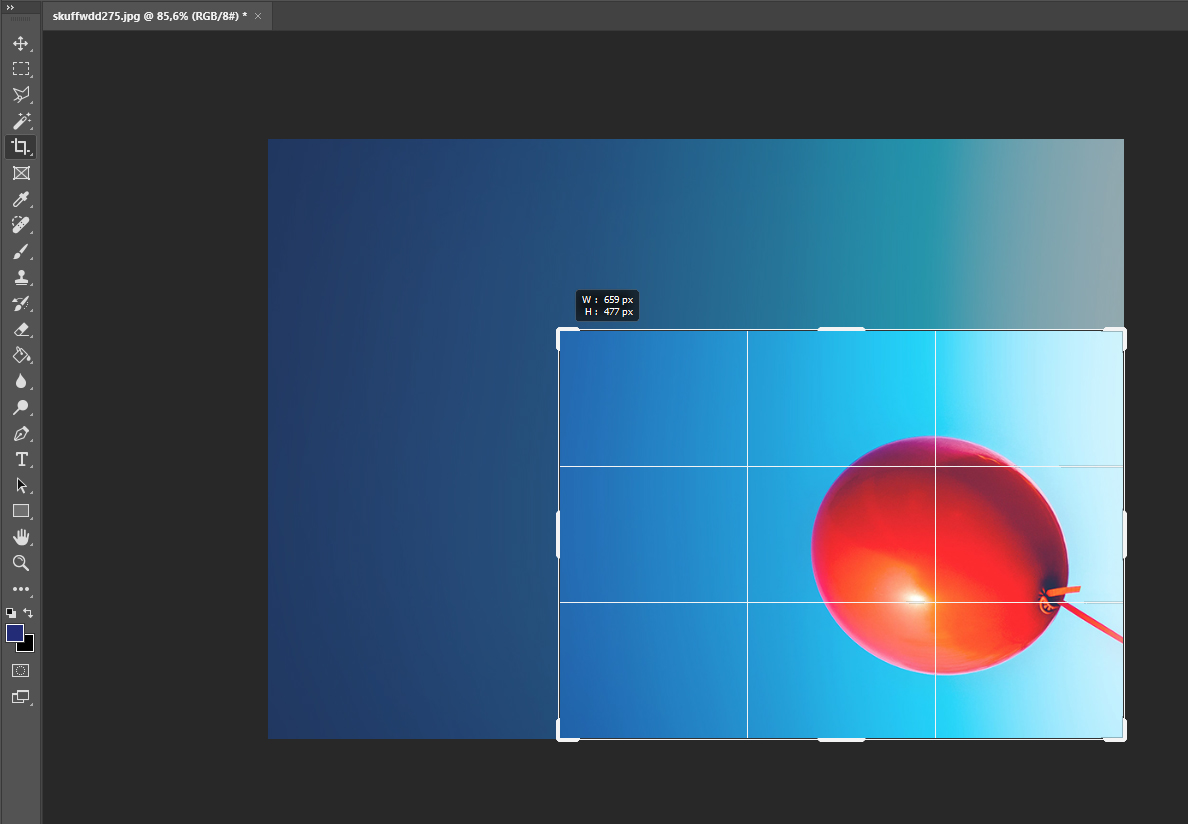
In today’s digital world, images play a major role in communication, branding, marketing, and user experience. Whether you are running a website, managing social media accounts, selling products online, or building a personal brand, high-quality visuals can make a significant difference.
However, creating a beautiful image is not always enough. An image that looks perfect on your computer may appear blurry, stretched, oversized, or poorly formatted when uploaded to a website or social media platform. Large image files can also slow down websites, negatively affecting user experience and search engine performance.
This is why image optimization is an essential part of the publishing process. Before uploading any visual online, creators should consider its dimensions, format, file size, quality, and overall appearance.
Why Image Preparation Matters Before Publishing
Every online platform has different requirements for images. A product thumbnail may need square dimensions, while a blog header might require a wide landscape format. A profile picture may work best as a square image, whereas a social media story needs a vertical layout.
Uploading the wrong image size can cause several problems, including:
- Blurry or pixelated visuals
- Cropped or stretched images
- Slow website loading speed
- Poor mobile experience
- Reduced engagement on social media
- Increased storage and bandwidth usage
Preparing images properly helps ensure that they look professional across different devices and platforms.
Creating a Great Visual Is Only Half the Job
Creating a great visual is only half the job. Before any image goes live — whether it’s a product thumbnail, a social post, a profile picture, or a favicon — it needs to be the right size, the right format, and the right file weight. Creators may also need to clean up images with AI to remove distracting objects, unwanted text, or background clutter before resizing and publishing them.
This step is especially important for businesses, content creators, photographers, bloggers, and marketers who regularly work with visual content. A clean and properly optimized image can improve both appearance and performance.
Understanding Image Dimensions
Image dimensions refer to the width and height of an image, usually measured in pixels.
For example:
- 1080 × 1080 pixels for a square image
- 1920 × 1080 pixels for a landscape image
- 1080 × 1920 pixels for a vertical image
Choosing the right dimensions depends on where the image will be used.
Common Image Sizes
Here are some commonly used image dimensions:
| Image Type | Recommended Dimensions |
| Instagram Post | 1080 × 1080 px |
| Instagram Story | 1080 × 1920 px |
| Facebook Cover | 820 × 312 px |
| YouTube Thumbnail | 1280 × 720 px |
| Website Banner | 1920 × 1080 px |
| Blog Featured Image | 1200 × 630 px |
| Profile Picture | 400 × 400 px |
| Favicon | 32 × 32 px or 48 × 48 px |
These dimensions may vary depending on the platform, but understanding aspect ratios helps creators design flexible visuals.
What Is Aspect Ratio?
The aspect ratio describes the proportional relationship between an image’s width and height.
Some common aspect ratios include:
- 1:1 – Square
- 16:9 – Widescreen
- 4:3 – Traditional display format
- 9:16 – Vertical mobile format
- 3:2 – Common photography format
Using the correct aspect ratio prevents unwanted cropping and stretching.
For example, a horizontal image uploaded to a vertical story format may have important elements cut off. Similarly, a portrait photo placed in a wide banner may leave empty spaces or require excessive cropping.
Planning the aspect ratio before publishing can save time and help maintain visual consistency.
Choosing the Right Image Format
Image formats affect quality, transparency, compatibility, and file size. The most commonly used formats include JPEG, PNG, WebP, SVG, and GIF.
JPEG
JPEG is one of the most popular formats for photographs and detailed images.
It is suitable for:
- Photography
- Blog images
- Product photos
- Travel pictures
- Social media visuals
JPEG files generally have smaller file sizes compared to PNG images, making them useful for websites.
However, JPEG does not support transparent backgrounds.
PNG
PNG is ideal when transparency is required.
It works well for:
- Logos
- Icons
- Transparent graphics
- Screenshots
- Design elements
PNG files usually offer higher quality but can be significantly larger than JPEG files.
WebP
WebP has become increasingly popular because it can provide good image quality with smaller file sizes.
It is useful for:
- Websites
- Blogs
- E-commerce stores
- Landing pages
Using modern formats such as WebP can help improve website loading performance.
SVG
SVG files are primarily used for vector graphics.
They are ideal for:
- Logos
- Icons
- Illustrations
- Simple graphics
Unlike traditional image files, SVG graphics can be scaled without losing quality.
Why File Size Is Important
A high-resolution image may look excellent, but if its file size is too large, it can create performance problems.
For example, uploading a 10 MB image to a blog post can significantly increase page loading time.
Large images may cause:
- Slow websites
- Higher bounce rates
- Increased bandwidth consumption
- Poor mobile performance
- Lower user satisfaction
Image compression helps reduce file size while maintaining acceptable visual quality.
The goal is not simply to make images as small as possible. Instead, creators should find the right balance between image quality and performance.
Resize Images Before Uploading
One common mistake is uploading a large image and relying on a website or platform to resize it automatically.
For example, if a website only displays an image at 800 pixels wide, uploading a 5000-pixel-wide image is often unnecessary.
Resizing the image before uploading can:
- Reduce file size
- Improve loading speed
- Save storage space
- Make image management easier
It is best to resize an image according to its actual display requirements.
Cleaning Images Before Resizing
Before resizing an image, creators should examine it carefully.
Sometimes an otherwise excellent image contains distracting elements such as:
- Unwanted people in the background
- Random objects
- Visible text
- Watermarks or unwanted design elements
- Background clutter
- Unnecessary shadows
- Visual distractions
Removing these elements before finalizing the image can significantly improve the result.
AI-powered editing tools have made this process much easier. Instead of manually editing every section of an image, creators can use intelligent tools to identify and remove unwanted elements.
This is particularly helpful for product photography, marketing graphics, profile images, and social media content.
Image Optimization for Websites
Website images should be visually appealing without negatively affecting page speed.
Here are some useful website image optimization practices.
Use Appropriate Dimensions
Avoid uploading extremely large images when smaller dimensions are sufficient.
For example, a small thumbnail does not need the same dimensions as a full-screen banner.
Compress Images
Compression can reduce unnecessary file data and make images faster to load.
Always check the final result to ensure that compression has not created noticeable quality problems.
Use Modern Formats
WebP and other modern formats can provide better compression than older formats in many situations.
Use Descriptive File Names
Instead of uploading images with names such as:
IMG_8392.jpg
Use descriptive names such as:
blue-running-shoes.jpg
Descriptive file names can help organize media libraries and improve content management.
Add Alt Text
Alt text provides a written description of an image.
For example:
Poor alt text: image123
Better alt text: Blue running shoes for men on a white background
Alt text can improve accessibility and help search engines understand image content.
Preparing Product Images
Product images are extremely important for online businesses.
A poorly prepared product image can reduce trust and make products appear less professional.
Before publishing product images, check:
- Image dimensions
- Background quality
- Lighting
- Sharpness
- File format
- File size
- Consistency with other product images
Many businesses use clean backgrounds to keep attention focused on the product.
AI image cleanup tools can also help remove unwanted objects or distractions from product photographs.
Optimizing Social Media Images
Social media platforms are highly visual environments. An image that is incorrectly sized may lose important information when displayed.
For example, text placed near the edge of an image may be cropped on certain devices.
Before publishing social media images:
- Check the recommended dimensions.
- Keep important elements near the center.
- Avoid excessive text.
- Ensure the image remains clear on mobile devices.
- Compress large files when necessary.
- Preview the image before publishing.
Consistency is also important for brands. Using similar colors, fonts, and layouts can help create a recognizable visual identity.
Preparing Profile Pictures
Profile pictures are displayed in many different sizes depending on the platform.
A good profile image should:
- Be clear and high quality
- Focus on the main subject
- Remain recognizable at small sizes
- Use appropriate cropping
- Avoid unnecessary background distractions
Since profile images often appear as circles, creators should ensure that important elements are not positioned near the corners.
Preparing Favicons
Favicons are small icons displayed in browser tabs and bookmarks.
Because favicons are extremely small, complex designs may not work well.
A good favicon should be:
- Simple
- Recognizable
- High contrast
- Easy to identify at a small size
Usually, a simplified version of a company logo works better than a detailed design.
Maintaining Image Quality During Resizing
Resizing an image incorrectly can reduce quality.
Increasing the dimensions of a small image can result in:
- Pixelation
- Blurriness
- Loss of detail
Whenever possible, start with a high-quality original image and resize it downward rather than attempting to enlarge a very small image.
AI upscaling tools may help improve some low-resolution images, but results can vary depending on the original image.
A Simple Image Publishing Workflow
Creators can follow a simple workflow before publishing any image.
Step 1: Start With the Original Image
Keep a high-quality original copy.
Avoid repeatedly editing and saving the same compressed file, as this may gradually reduce quality.
Step 2: Clean Up the Image
Remove distracting objects, unnecessary text, or unwanted background elements.
Step 3: Choose the Correct Aspect Ratio
Determine whether the image needs to be square, horizontal, or vertical.
Step 4: Resize the Image
Resize the visual according to the platform’s requirements.
Step 5: Select the Best Format
Choose JPEG, PNG, WebP, SVG, or another format depending on the purpose.
Step 6: Compress the File
Reduce file size while maintaining good visual quality.
Step 7: Add Metadata
Use descriptive file names and appropriate alt text where relevant.
Step 8: Preview Before Publishing
Check how the image appears on desktop and mobile devices.
This workflow can prevent many common image publishing mistakes.
Common Image Optimization Mistakes
Even experienced creators sometimes make image-related mistakes.
Uploading Extremely Large Files
Large files can slow down websites and waste storage.
Using the Wrong Format
Using PNG for every image may unnecessarily increase file sizes, while JPEG may not be suitable for transparent logos.
Ignoring Mobile Devices
Most online content is viewed on mobile devices. Always check whether images remain clear on smaller screens.
Overcompressing Images
Too much compression can create visible artifacts and reduce quality.
Forgetting to Clean the Image
Small distractions may become more noticeable after publishing.
Using Inconsistent Image Styles
Different image sizes, backgrounds, and editing styles can make a website or social profile look unprofessional.
The Future of AI Image Editing
AI is changing how creators work with images.
Tasks that previously required advanced editing skills can now be completed more quickly with AI-powered tools.
These technologies can assist with:
- Object removal
- Background cleanup
- Image enhancement
- Upscaling
- Background replacement
- Smart cropping
- Automatic adjustments
AI tools do not eliminate the need for creative judgment. However, they can reduce repetitive editing work and make professional-looking results more accessible.
For businesses and creators producing large amounts of visual content, AI-assisted workflows can save considerable time.
Final Thoughts
Images are a critical part of modern digital communication, but publishing an image involves more than simply uploading a file.
The right dimensions, aspect ratio, format, file size, and visual quality all contribute to the final result. Cleaning unnecessary elements before resizing can also make visuals look more professional and focused.
Whether you are preparing a product thumbnail, social media post, profile picture, blog image, website banner, or favicon, taking a few extra minutes to optimize the image can improve both appearance and performance.
A smart image workflow includes cleaning the image, selecting the correct dimensions, choosing an appropriate format, compressing the file, and reviewing the final result before publishing.
By following these steps consistently, creators can ensure that every visual looks professional, loads efficiently, and delivers the best possible experience for their audience.